Installation Procedures:
1. Locate the installation position first, and ensure that all the solar road studs are in the same line in vertical. Use the drill to drill holes in certain position, and the 5cm will be OK. It should be noticed that the bottom of the hole should be even.
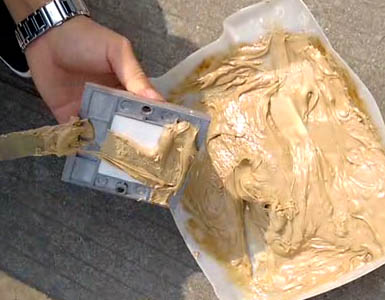
2. Mix the adhesive in right proportion, and stir the glue evenly. 140-150g glue is needed for each solar road stud.
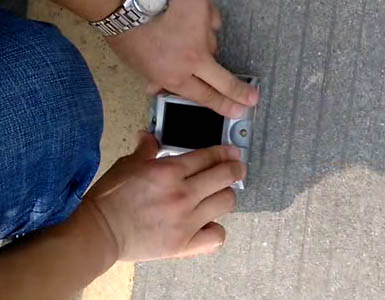
3. Clean the installation areas. Smear the adhesive evenly on the back of the solar road stud, and set it in right place, and then press the stud with strength to make it can connect with the ground firmly.
4. Use knife to clean the unnecessary adhesive and clean the ground.
Notice:
1. Asphalt glue can be used to connect the solar road stud and the ground, however, if the epoxy resin is used, the ground should be clean and dry.
2. Don’t touch the top of the solar road stud to avoid putting adhesive onto it to influence the luminous effect. The solar road stud cannot be installed in the place with water and greasy dirt.
3. The separation facilities can be moved away 4 hours after installation.
4. Install the solar road stud in the place where can absorb sunlight.
The solar road studs produced by NOKIN TRAFFIC FACILITY are of good quality and they are favored by clients throughout the world. We have professional research and development team, and support OEM services to meet your unique needs. NOKIN also focus on innovation of new products, and the new products of NOKIN have combined fashion and practical together. NOKIN will always insist the operation philosophy of “High Quality, Reasonable Price, Best Service, Right & Prompt Delivery”. NOKIN welcomes all kinds of consultation and feedbacks.
Latest News
Hot Product


Copyright © 2011-2018 by NOKIN All Rights Reserved.

